From Blueprint to Broadcast: A Step-by-Step Journey of Transceiver Creation
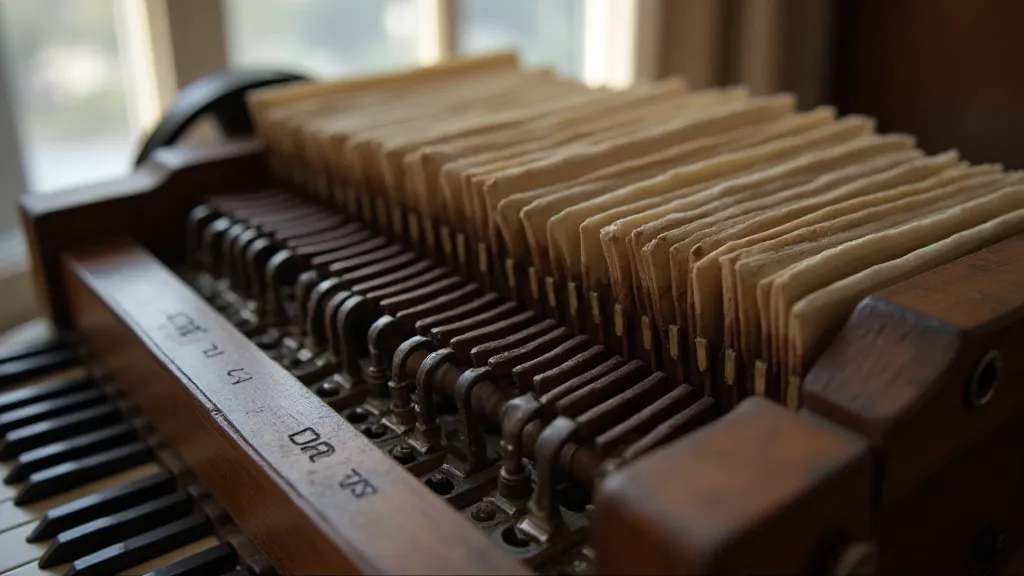
There's a certain magic in holding something you've built yourself. It’s a feeling amplified tenfold when that something is a radio transceiver, a device capable of bridging vast distances with nothing more than electromagnetic waves and ingenuity. My own fascination with radio began, oddly enough, not with radios themselves, but with accordions. My grandfather, a quiet man with hands that seemed permanently stained with the oils of wood and metal, played the accordion. Each bellows push and pull released a vibrant tapestry of sound – a tangible connection to a past echoing with polka rhythms and heartfelt melodies. Disassembling and cleaning his antique accordion as a boy, marveling at the intricate mechanisms, the tiny valves, the painstakingly crafted reeds, instilled in me an appreciation for craftsmanship and the beauty of engineered complexity. Building a ham radio transceiver feels, in a way, like recreating that same sense of wonder, but instead of music, I’m crafting the means to communicate.
The Allure of DIY Radio: A History of Innovation
The history of radio is a testament to human curiosity and relentless innovation. Think about Guglielmo Marconi, sending those first transatlantic signals. He wasn’t just sending information; he was proving a principle – that voices and messages could traverse oceans on invisible waves. The early days of amateur radio were similarly driven by this spirit of experimentation. Hams weren’t just using existing technology; they were refining it, building their own transmitters and receivers, pushing the boundaries of what was possible. Today, the tradition continues. Building a transceiver isn't just about obtaining a license and making contacts; it's about understanding the underlying principles and participating in a legacy of innovation.
Planning Your Transceiver Project: A Solid Foundation
Before you even touch a soldering iron, careful planning is crucial. There are countless transceiver designs available, ranging from relatively simple single-sideband (SSB) transceivers to more complex devices incorporating digital signal processing. For a first project, I strongly recommend starting with a well-documented design. Kits are an excellent starting point, providing all the necessary components and detailed instructions. However, building from scratch – even with a pre-existing schematic – offers a deeper understanding of the process. Consider your budget, available tools, and skill level when selecting a project. Don't underestimate the importance of a good schematic and parts list! These are your blueprints; treat them with respect. A sloppy schematic can lead to hours of frustration and wasted materials.
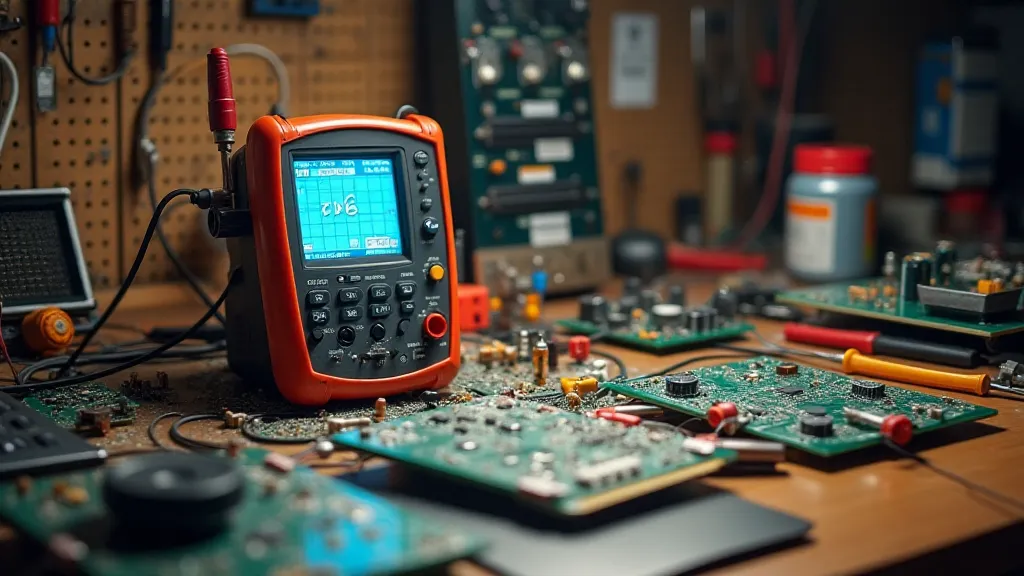
Gathering Your Tools and Materials: The Workshop Ready
The tools of the trade aren't as intimidating as they might seem. A basic soldering iron with temperature control is essential. You'll also need wire strippers, pliers, a multimeter for testing, and a breadboard for prototyping. A good quality oscilloscope is a luxury but incredibly useful for troubleshooting signal issues. When it comes to components, source your parts from reputable suppliers. Counterfeit components are a real problem, and using substandard parts can compromise the performance and reliability of your transceiver. Carefully inventory your parts against the bill of materials, and double-check polarities and values before soldering.
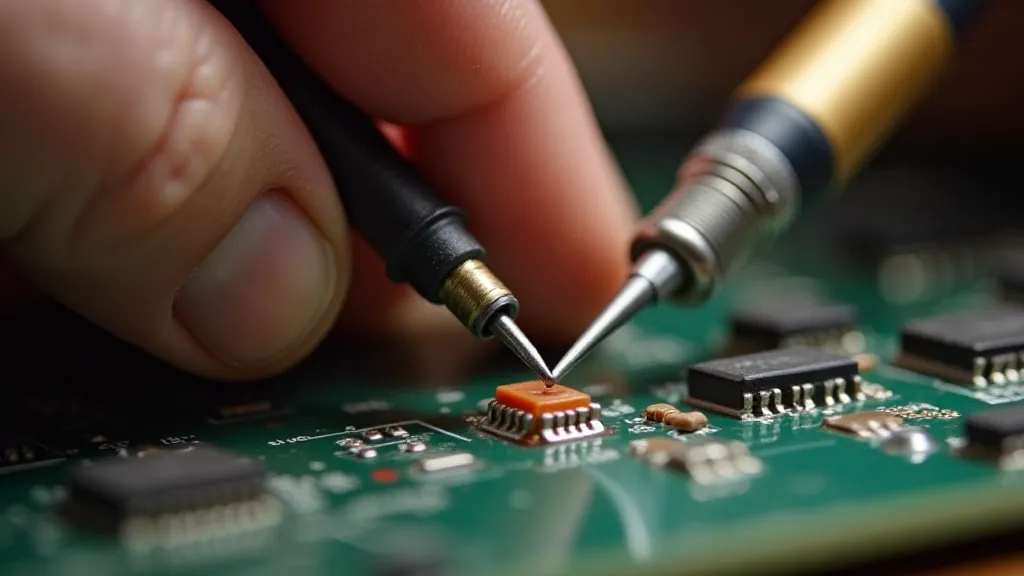
The Art of Soldering: Building Connections
Soldering isn't just about melting solder; it’s about creating a strong, reliable electrical connection. A clean soldering iron tip, flux, and good quality solder are critical. Practice on scrap components before tackling the actual transceiver. A ‘cold’ solder joint – one that appears shiny and doesn't flow properly – is a common source of problems. Learn to recognize the signs of a good solder joint: a smooth, concave fillet that flows cleanly around the component leads. This is where the patience you honed cleaning antique accordions comes in handy – meticulous attention to detail pays off.
Assembling the Transceiver: Patience and Precision
This is the core of the project. Following the schematic and assembly instructions diligently is paramount. Double-check all connections before moving on. Pay close attention to the orientation of components – a single reversed component can wreak havoc on the entire circuit. Don't rush! This is a journey, not a race. Regularly test sub-assemblies as you build them, using your multimeter and, if you have one, your oscilloscope. This allows you to isolate problems early on, preventing a cascade of errors later. Remember those tiny valves in the accordion? This demands a similar level of care.
Tuning and Testing: Bringing it to Life
Once the transceiver is assembled, the real fun begins – the tuning and testing phase. This is where you fine-tune the circuit, adjust the oscillator frequency, and verify the transmit and receive performance. Use a signal generator to inject test signals and a spectrum analyzer (if available) to monitor the transmitted signal. Listen for spurious emissions and adjust the circuit to minimize them. This might involve tweaking component values or adjusting the alignment of inductors. This often requires a quiet space and a keen ear. The thrill of finally hearing your own voice transmitted over the airwaves is an unparalleled reward for your efforts.
Troubleshooting: Diagnosing and Resolving Issues
Inevitably, something will go wrong. Don't be discouraged! Troubleshooting is an integral part of the learning process. Start with the basics: double-check all connections, verify component values, and review the schematic carefully. Use your multimeter to trace signals through the circuit and identify points of failure. Online forums and communities dedicated to amateur radio can be invaluable resources for getting help. Remember that every problem is an opportunity to learn and deepen your understanding of radio technology.
Beyond the Basics: Restoration and Collecting
Building a transceiver is just the beginning. The skills and knowledge you gain can be applied to restoring vintage radios and collecting antique equipment. There's a certain satisfaction in breathing new life into a piece of history, understanding the ingenuity of the engineers who designed it, and preserving a tangible link to the past. Just as I appreciate the craftsmanship of my grandfather's accordion, I now appreciate the artistry of early radio design. The journey from blueprint to broadcast is a testament to human ingenuity and a source of endless fascination. It’s a journey worth taking – again and again.